How To Grow

Pictures of microgreens in tray
  1. Remove tray from grow unit and place onto a clean work surface.

  2. Place a bowl or other container close by to collect the harvested microgreens.
Picture of harvesting process
  1. Use the supplied scissors or a sharp kitchen knife to carefully cut microgreens approximately 1 inch from the soil surface
Picture of harvested microgreens and picture of microgreen pulled from soil
  1. Place harvested microgreens into your chosen container as you carefully harvest them using caution not to accidentally pull out the greens from the roots.

    Note: do not contaminate harvested microgreens with soil

     
Picture of microgreens in Ziplock slightly open with paper towel
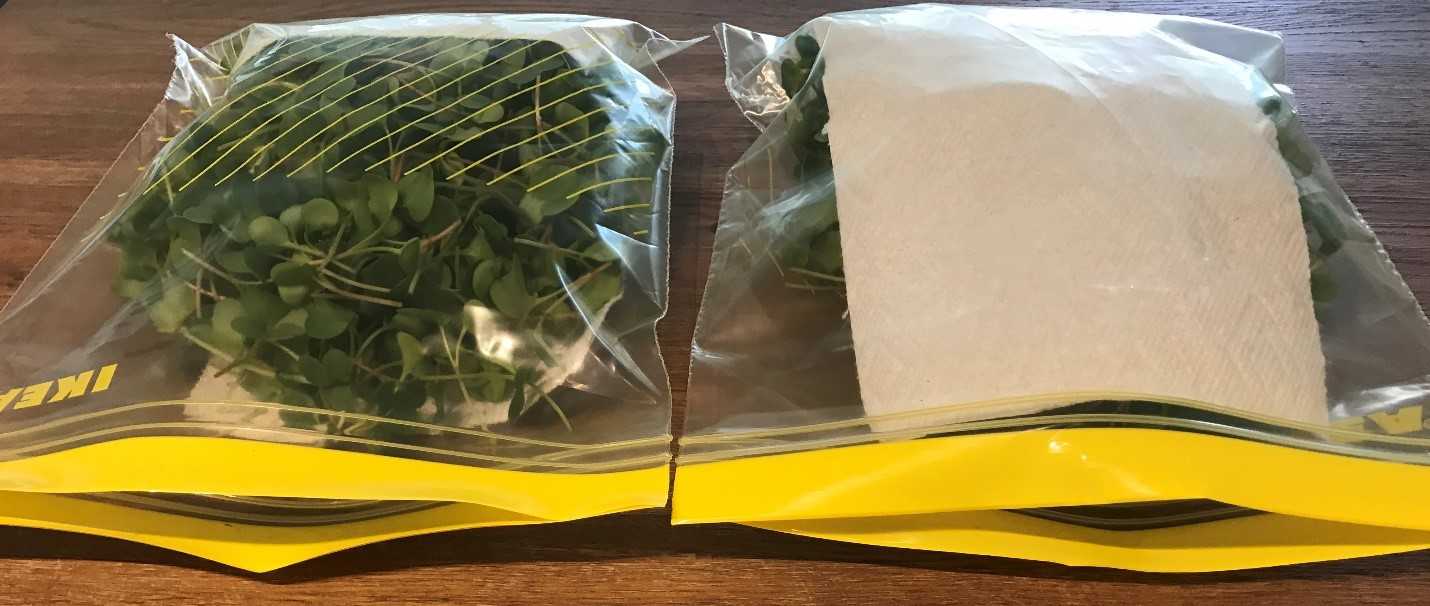
  1. Once harvesting is complete transfer the freshly cut microgreens into a Ziplock bag or similar container with a piece of paper towel to help absorb excess moisture, then place into the fridge.

    Note: be sure to leave the Ziplock slightly open to allow excess moisture to escape

Picture from quick start guide step 2
  1. After harvesting is complete, compost the leftover soil and stems, wash all the trays and cutting utensils, and prepare for the next harvest.

  2. Micro greens will last in the fridge for at least a week when properly cared for.

Notes:

  • You don not have to clean the microgreens if they do not get contaminated with dirt
  • You should wash your hands thoroughly before touching any crop for consumption
  • Microgreens should be handled delicately