How To Grow
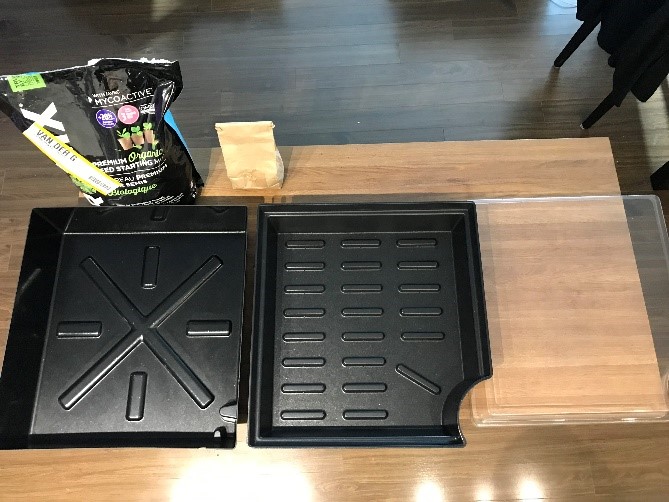
- Open box and remove the grow unit.
- Remove supplied grow kits from the grow unit. Each kit contains a flood tray, a soil tray, a humidity dome, soil, a seed pack, and a nutrient pack.
- Plug in the grow unit.
- Insert soil tray into the flood tray (if it isn’t already done) and place onto a clean work surface.
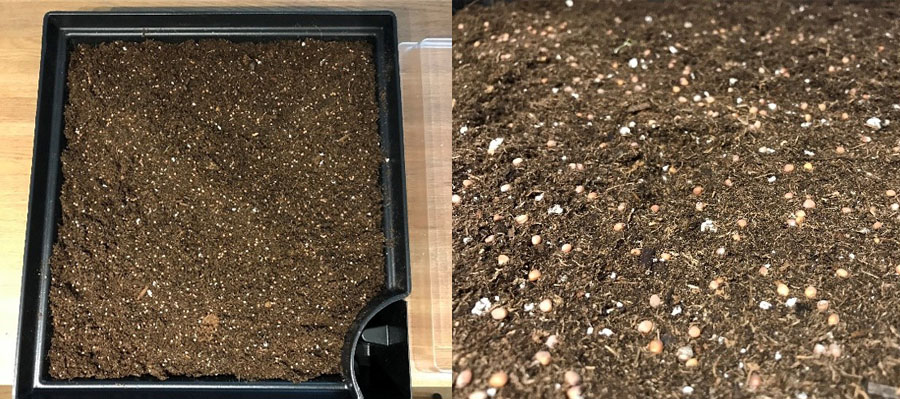
- Pour soil into the soil tray up to the indicator line and add seeds as directed below: For radish microgreens add 6 grams of seeds.
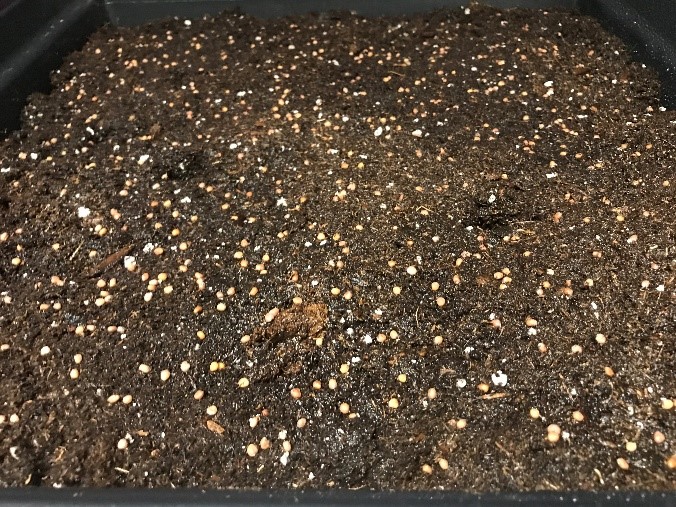
- Fill the provided spray bottle with water and spray the seeds and top of soil until shimmering.
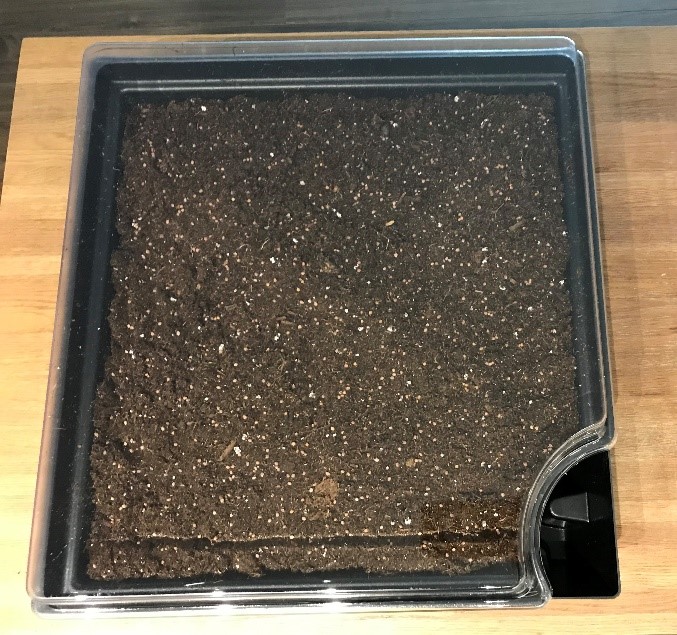
- Place humidity dome over flood tray with inserted soil tray and insert them into the grow unit.
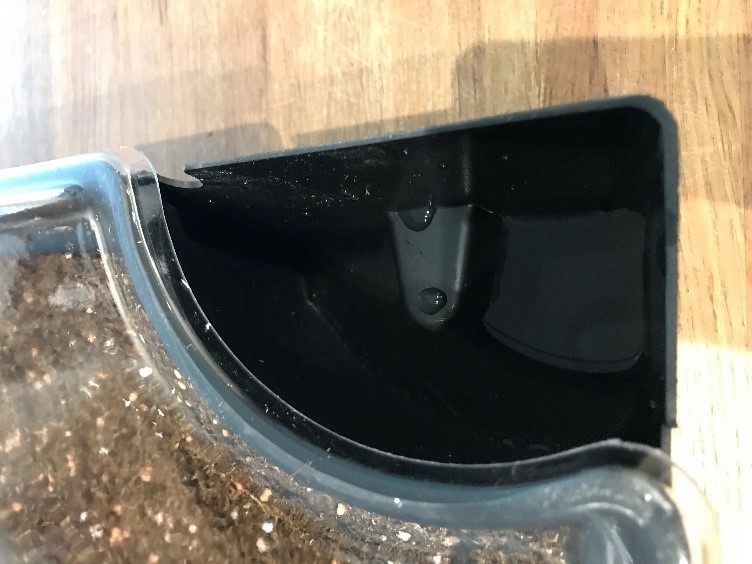
- Pour water into the flood tray repository as directed below: Add 3L of water or until water covers the second indicator post. Wait 30 mins for soil to absorb water then add another 3L of water or until water covers the second indicator post.
- Repeat steps 4 through 8 for the second grow kit.

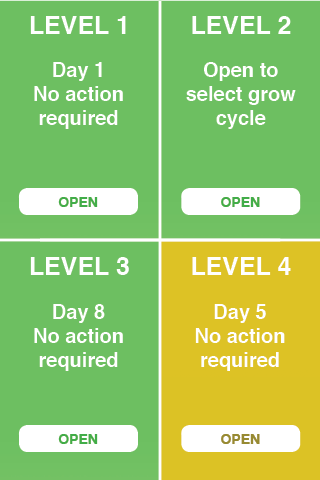
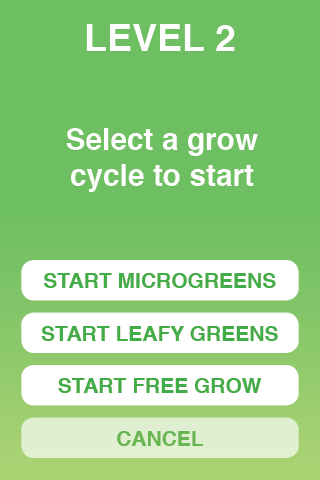
- Follow the instructions on the screen of the grow unit.
Click to zoom in
Notes:
- Radish microgreens will be ready to harvest 8 days after planting
- Humidity dome needs to be removed 50 hours after planting
- No additional watering should be needed (this needs to be tested in the unit)
- Water stayed visibly in the flood tray until 4 or 5 days after initial planting
- Soil will shrink down from the indicator line and might make harvesting more challenging (this will need further testing, we may want to raise the indicator line or shorten the tray, we could also do two separate trays further down the road – one optimized for microgreens)
- These microgreens were grown in an open air shelf with temperature around 23 degrees and 49.5 relative humidity
- One tray will yield approximately 150g of radish microgreens
- Serving size for radish microgreens is approximately 10g

